First post on the website!

It has been more than 15 years since I have last written a decent blog post. I used to run a blogging website (with this same domain, yes) on internet marketing and content creation, and also touched briefly on the technical parts of things. Life happened, many things have changed (mostly for the better), and here I am again.
Frankly, I have absolutely no idea what I will be writing. But for now, I intend to document my journey on Home Assistant, Synology NAS and some personal projects and hobbies (Cubing, anyone?). Topics may change, SEO may be affected, but who cares?
Website Information
I love trying new things, so I took a huge leap in using a static site generator for a blogging website instead of the conventional Wordpress CMS that I was familiar with. Blogging with Markdown Syntax sounds like a good idea as well.
Totally not because I am lazy. Also because one of my companies needs a tech refresh on its corporate website. So what better reason than to get my hands dirty and start learning new stuff?
I wanted to get a website up and running fast, and I also wanted it to be…. really fast. I did a quick lookaround and decided on Hugo because:
- Hugo is fast, insanely fast. And I don’t mean just serving files, but building times are <1ms per page.
- Easy to install. Run a few commands and you are ready to go.
- Cross platform. I can deploy it on a docker, I have installed this on my macOS and Windows as well.
- Renders changes on the fly, just like good o’ ReactJS (and other JS libs).
- Beautiful themes across various categories (documentation, corporate website, personal, many more…). I’m a sucker for themes. ’nough said.
- Flexible Content Organisation with sections.
- Automatic generation of TOCs
- Pretty URLs
- And so many more features…
How I built this website with Hugo
To show you how easy it is to install Hugo and running it, these are what I have done:
Step 0: Preparation
You will need these tools:
- Package Manager: Chocolatey (Windows) or Homebrew (macOS)
- Git
- Visual Studio Code
Step 1: Install Hugo
Use your package manager to install Hugo. My OS is macOS for my examples, hence I used Homebrew.
brew install hugo
Step 2: Running Hugo
Create a folder that you will be using for your website. In my example, I use .../projects/hugo/website1. Replace website1 with a name of your choice.
cd projects/hugo
Create a hugo-directory-structure for your website.
hugo new site website1
cd website1
Find a theme you like. I am using LoveIt for this example. Read the theme documentation on how to install your theme.
Generally, the flow for the installation of most themes is:
- Download the theme into your
./themesfolder. - Amend the
hugo.tomlconfig file to refer to the theme.
For my example, I initialise the git repository for this website and download the theme into the ./themes folder. Then I configure the hugo.toml to load my website using the LoveIt theme.
git init
git submodule add https://github.com/dillonzq/LoveIt themes/LoveIt
echo "theme = 'LoveIt'" >> hugo.toml
Lastly, start the development server.
I use the -D flag to show drafts and the --disableFastRender to ensure nothing gets cached and we always see the latest changes in development environment.
hugo server -D --disableFastRender
Navigate to http://localhost:1313 to view your site. You have created your first Hugo site!
Step 3: Create new content
Creating new content is just a command away. In the example below, we will create a new post.
hugo new content posts/first-post.md
This tells Hugo server to create a content type post in the /posts folder.
Enter the following command to fire up Visual Studio Code and start editing your post away.
code .
When you open the first-post.md file, you will see the following content. These are called front matter. These are basically the configuration settings and metadata for this post.
---
title: "First Post"
date: 2023-08-26:T09:00:00-08:00
draft: true
---
Make some changes and save the file, and you will see that the changes you made are hot reloaded. This means that the server will automatically refresh the page and you can see your changes immediately, without having to restart your server. Nice!
There is also no need to throw page resources into various folders such as /static or /assets.
You can make use of page bundles by creating directories for various posts, and then include the resources within. This help you to better manage your page resources so you can logically group all assets under one mega post folder.
Take a look at the folder structure below to have a better understanding:
📦content
 ┣ 📂authors
 ┃ ┗ 📜index.md
 ┗ 📂posts
 ┃ ┗ 📂first-post
 ┃ ┃ ┣ 📂images
 ┃ ┃ ┃ ┗ 📜test.jpg
 ┃ ┃ ┗ 📜index.md
Notice that the instead of /posts/first-post.md, my post content is using ‘/posts/first-post/index.md’. There is also a /images/ folder with a test.jpg file within. This logically groups the test.jpg file under first-post only.
Once you are done writing the page, set draft: false and you are ready to deploy this!
Step 4: Website Deployment
What makes static sites so easy to deploy, as compared to CMS or other kinds of webapps, is that once you have built your site, you can simply do a copy and paste of the build to a web server. No need to worry about connections between the other parts such as database connections, apps servers and the likes. This is known as Jamstack.
baseurl in hugo.toml to your production URL, otherwise you may have broken links!To deploy your website, you first need to get hugo to build your files, then copy the public folder to the web server of your choice. That’s it!
To build, enter:
hugo
You can self-host, or deploy your site to hosting providers.
Let me share what I did to deploy my website on Netlify.
- Push code to GitHub repository
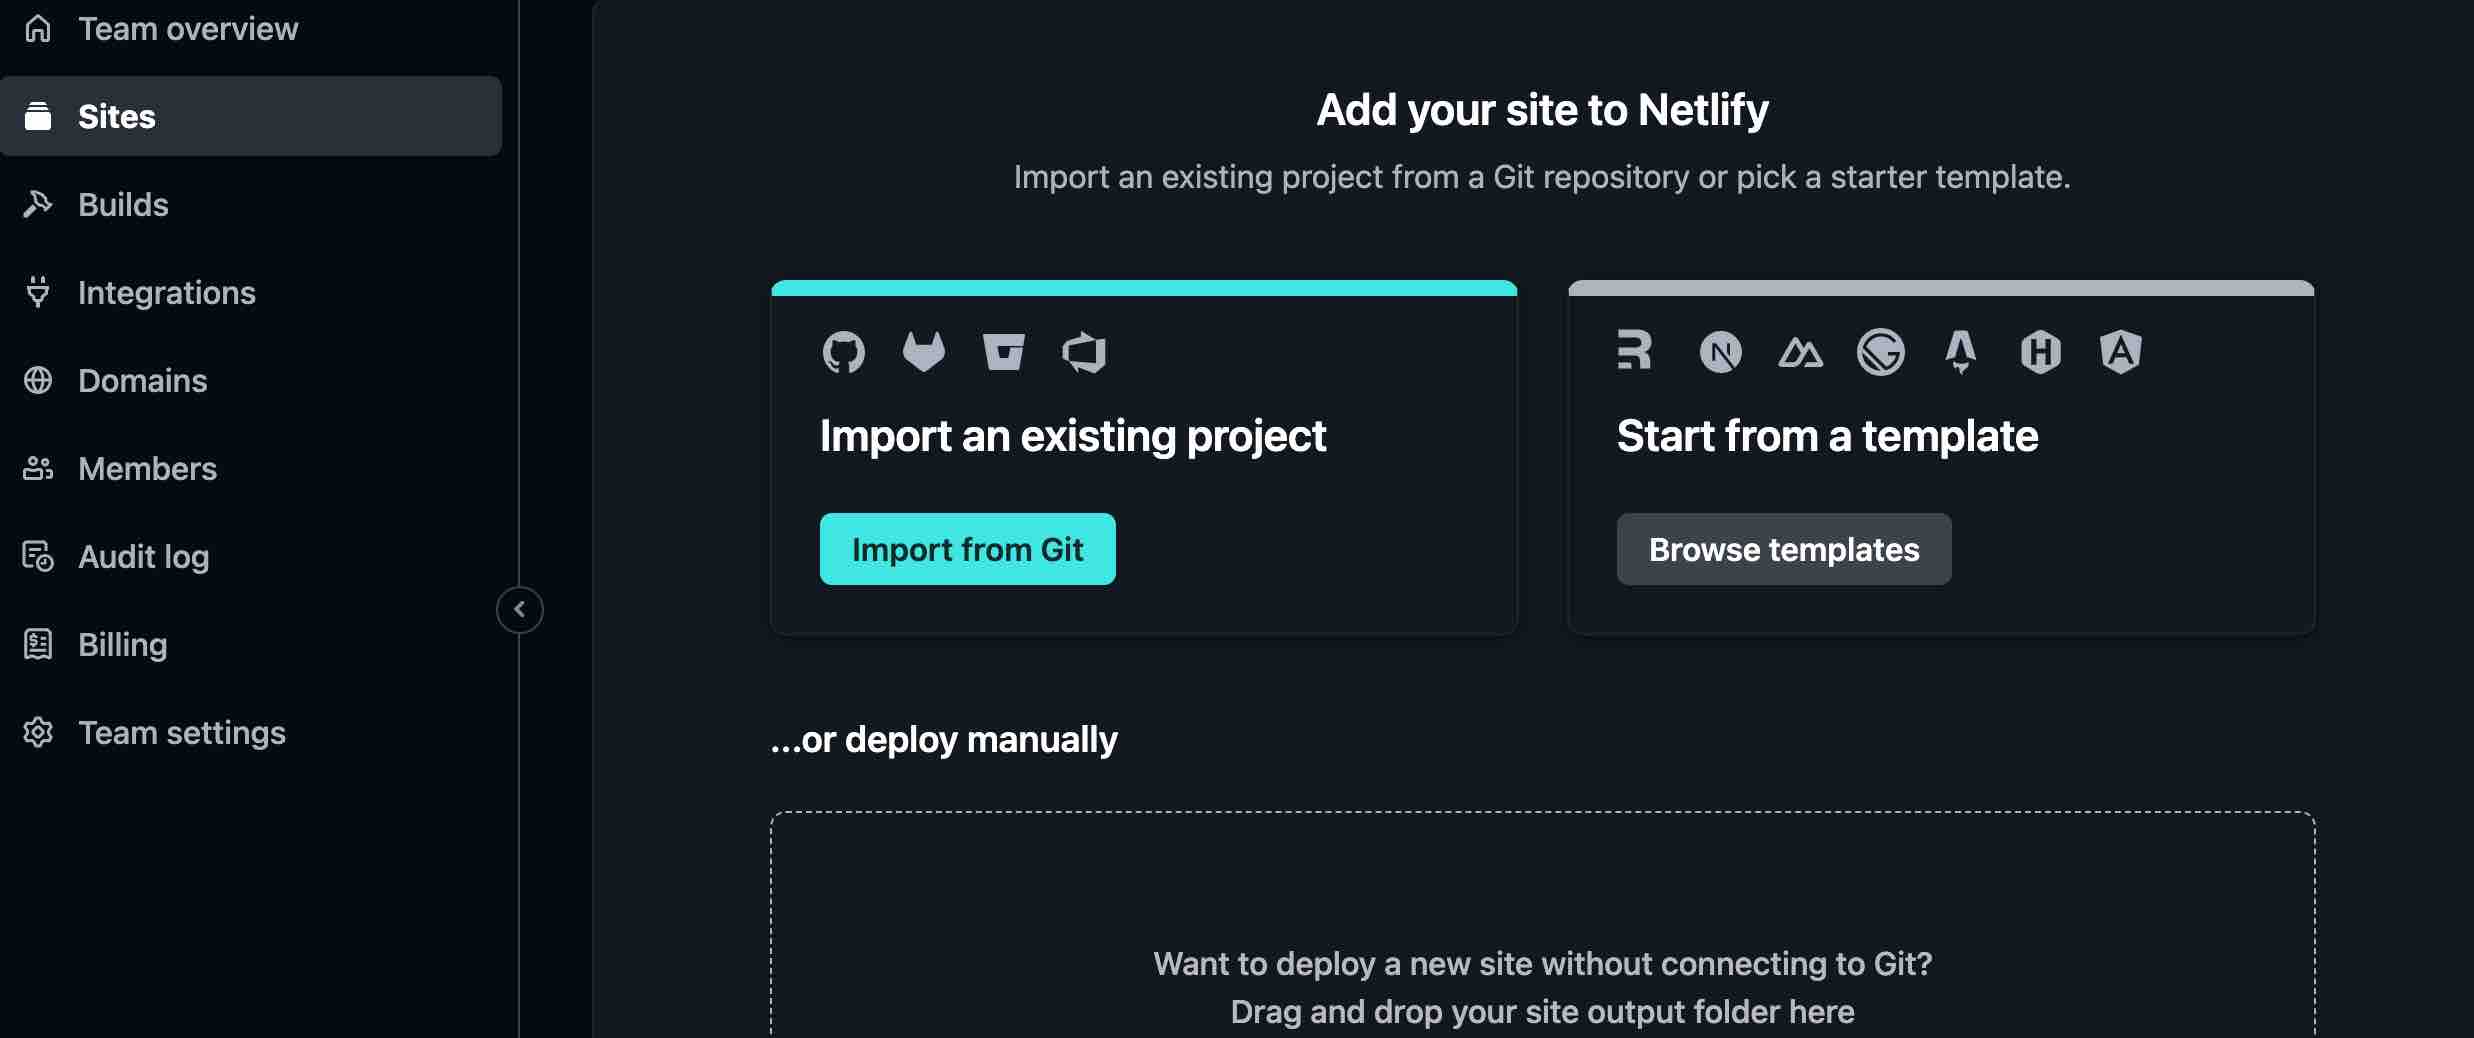
- Create a new site on Netlify
- Set up Continuous Deployment configuration in Netlify
- Deploy site
- Create DNS
CNAME Recordto point my custom domain to my Netlify site
Create a Github repository
Create an account on GitHub and create a public repository YourGitHubUserName/YourWebsiteName. No need for licenses or README.md file.
Using your terminal:
cd .../projects/hugo/website1
touch .gitignore
echo "public/" >> .gitignore
git add .
git commit -m "Initial commit"
git remote add origin https://github.com/YourGitHubUserName/YourWebsiteName
git push origin master
In a nutshell, you create a .gitignore file that excludes the public folder and add the rest of the files into staging, commit them (kinda like ‘save’) with a comment “Initial commit”, tell your git to refer to the new repository URL that you have created, and push all the changes into it.
git commands put you off or you are not trying to be cool, you can consider using GitHub Desktop or Visual Studio Code’s Source Control to manage your git commands instead.It is useful to enter meaningful comments during commits to easily identify the changes you have made. This may not seem like much, but there is a good o’ saying in the development world:
When I wrote this code, only God and I knew what it does. Now, only God knows.
Don’t be that guy.
Far fetched, I know. But yes, good habits guys.
Create a new site on Netlify
Create a netlify.toml config file in your root directory with the code below. Provide the latest stable release of Hugo (at the time of writing this article, I am using 0.117.0).
[context.production.environment]
  HUGO_VERSION = "0.117.0"
Create an account on Netlify with your GitHub account.
Go to Sites -> Import from Git

Select Deploy with GitHub and a separate window will pop up, asking you for authorization.
Select Authorize Netlify.
If there are no repositories found, it is because you have not configured Netlify on GitHub yet. Click Configure Netlify on GitHub. A separate window will pop up again, and select your repository to install Netlify on GitHub. Select just the repository(s) that you want. In your case, select YourWebsiteName and click Install.
You can proceed to deploy with the default configurations provided by Netlify. Click Deploy YourWebsiteName.
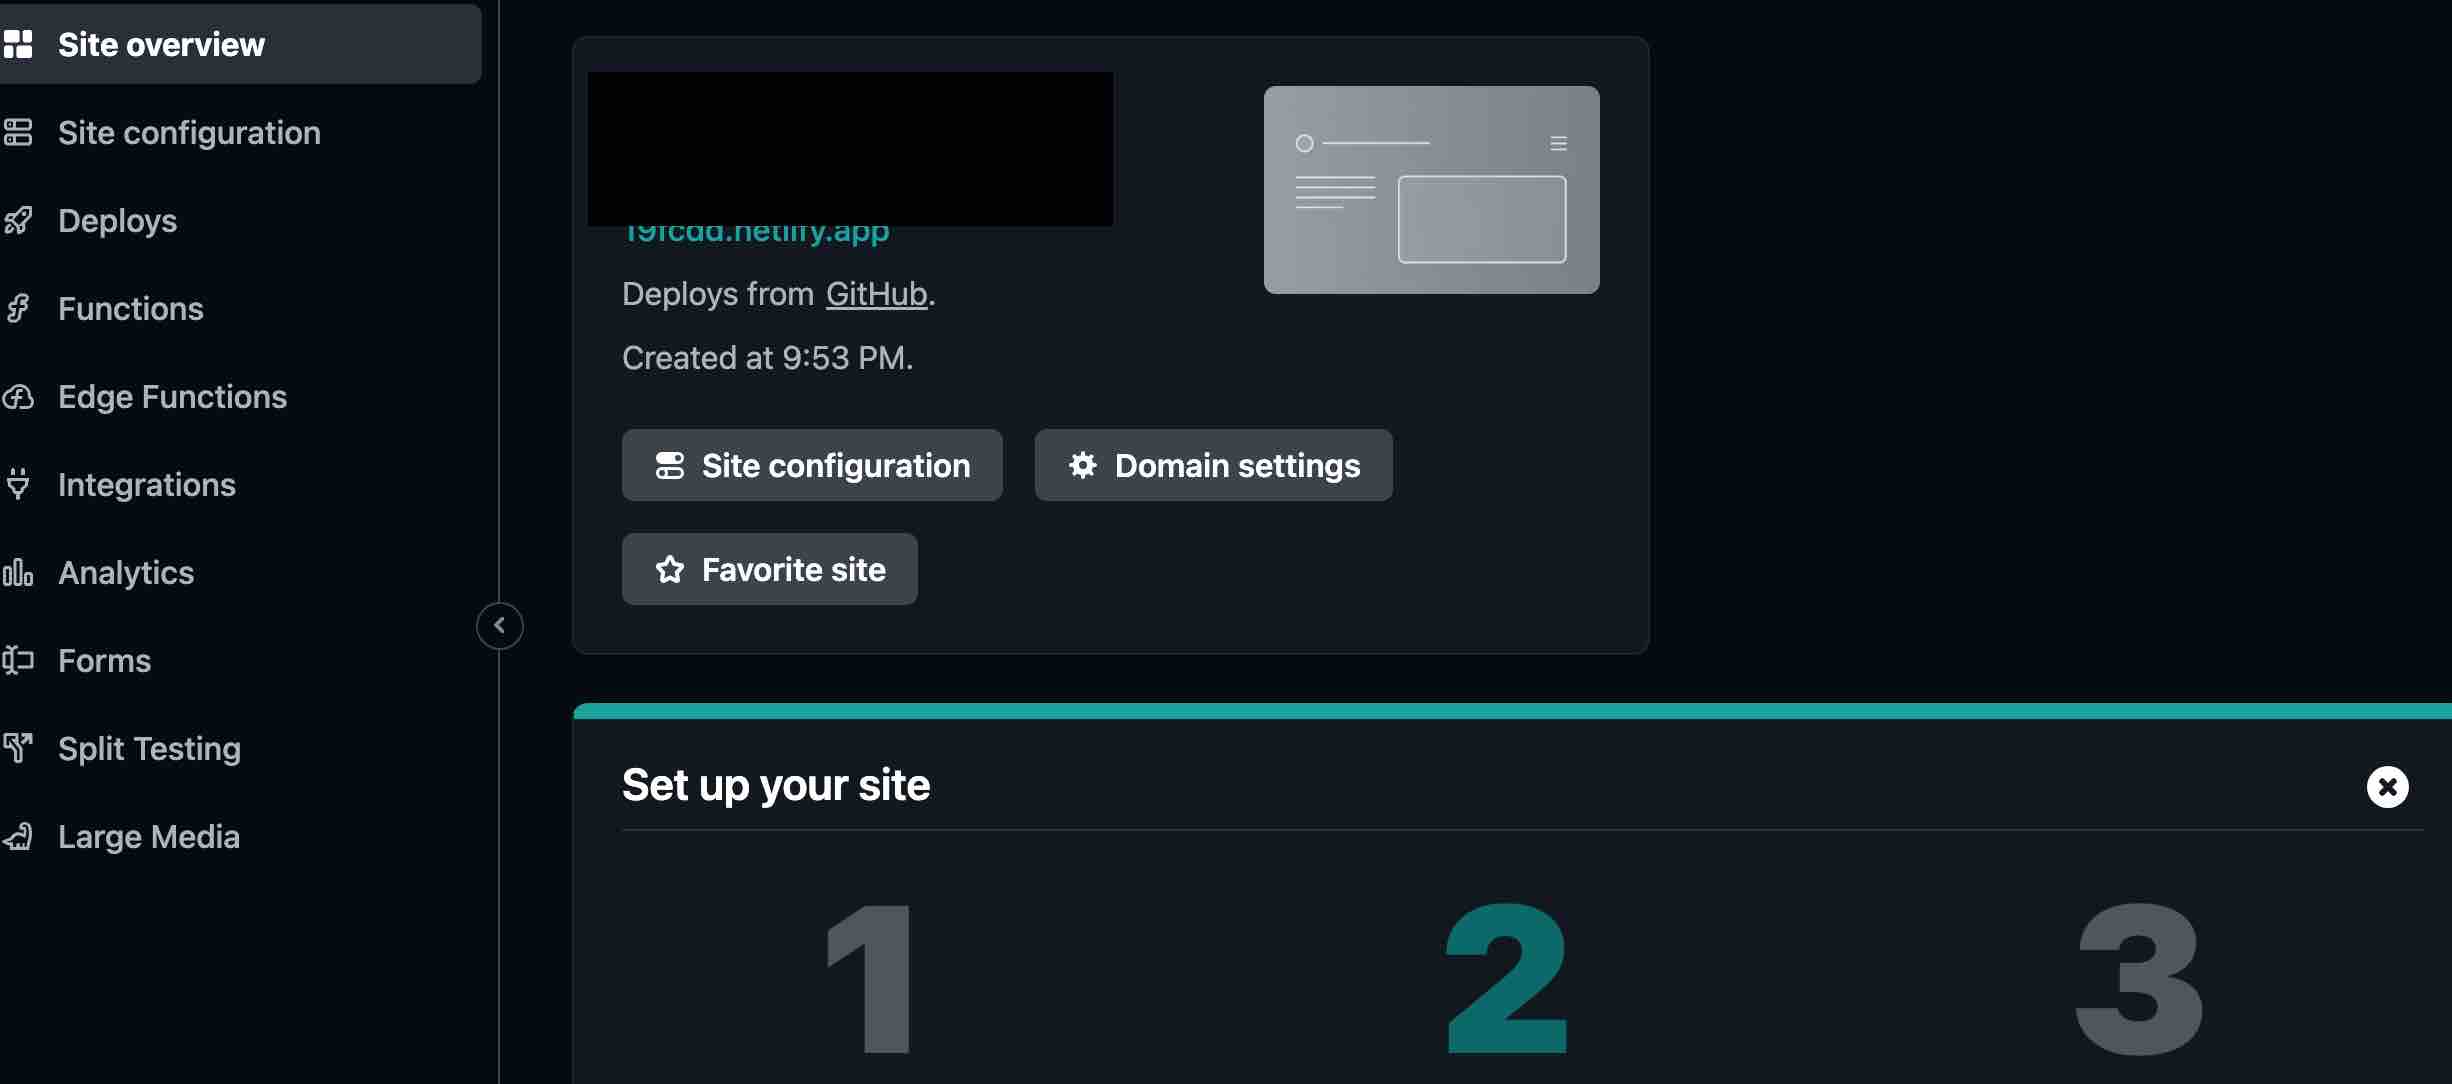
You should see this beautiful sight once the website has been deployed.

Navigate to the website and see how fast it loads!
Using a Custom Domain Name for my Netlify site
You have to create a CNAME Record on your Domain Registrar and point it to your new netlify website. Lastly, add your domain to Netlify.
… and there you have it!
So much for my first post 😀
Like this article? Have some comments? Comment down bel-
Oh, no wait. You can’t 😀 </sarcasm>